How property inspections protect your rental home
A move-in baseline, planned checks during the tenancy and a move-out comparison: what a good inspection covers, how its evidence turns into repairs, and how to respect the tenant's home while you do it.
By Nest Partners Editorial Team
Published 5 October 20265 min read
Key takeaways
- Inspections record the home's condition, catch small problems early and give both sides evidence for the deposit settlement.
- Inspect at move-in, on a plan during the tenancy and at move-out, in the same order and from the same angles each time.
- Sort findings into urgent, owner's, tenant's and watch items, and close each repair only once it has been checked.
- Give the notice the agreement sets, inspect with the tenant present and photograph the home, not their belongings.
A rental inspection is a planned, documented check of a let home's condition: at move-in, at intervals during the tenancy and at move-out. It protects the home by catching small problems before they become large ones, it gives the owner and the tenant a shared record for the deposit settlement, and, done with notice and courtesy, it respects the fact that for the length of the tenancy this is the tenant's home. Nest Partners plans inspections twice a year for the homes it manages, with photo and video evidence.
What an inspection is for
An inspection has three jobs. It records the home's condition at a point in time. It finds problems while they are still small: a slow leak under a sink, damp spreading from a bathroom wall, a switch that runs warm. And it produces evidence the owner and the tenant can both rely on later.
It is not a judgement of the tenant's housekeeping. A home that is lived in will show it, and an inspection that treats ordinary living as a fault makes the next one harder to arrange.
What a thorough inspection covers
Go room by room, in the same order each time, so nothing is missed and each report can be compared with the last:
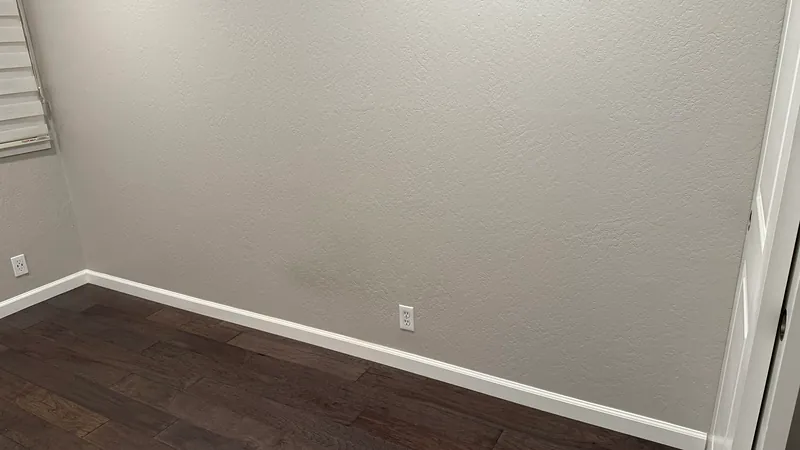
- walls, ceilings and floors, for cracks, damp patches and seepage, especially around bathrooms, windows and outside walls after heavy rain;
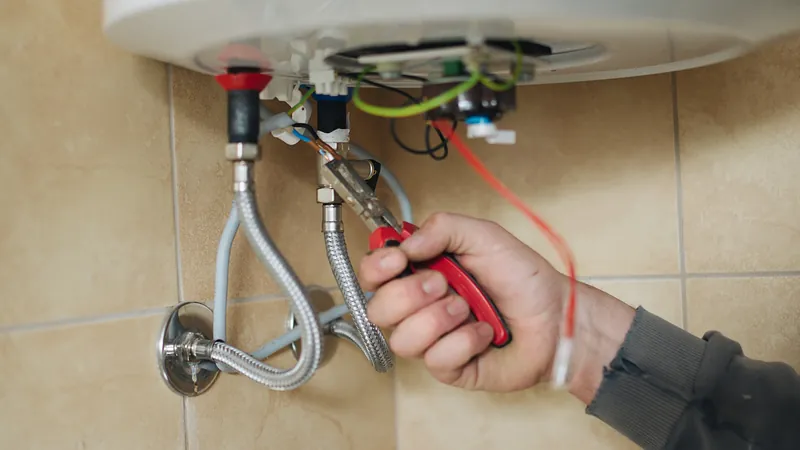
- plumbing: taps, flush tanks, drains, the pipes under sinks, the water heaters and any sign of a leak;
- electrical points: switches, sockets, fans and lights, and the distribution board for anything scorched or repeatedly tripping;
- doors, windows, locks, grilles and mesh;
- the kitchen: the sink, cabinets, chimney and the gas connection;
- every appliance and item of furniture on the inventory, and whether it works;
- balconies and utility areas, including drain outlets that can block and flood.
Problems that start outside the home, such as a leak from the flat above or a shared pipe, are for the association or a neighbour to fix, but they still belong in the report because they affect the home. Seasonal jobs, such as clearing drains before the rains, are easier to plan with a year-round maintenance calendar.
When to inspect
| Moment | Purpose | What to record |
|---|---|---|
| Move-in, before the keys change hands | The baseline every later check is compared with | Inventory, condition of each room, meter readings, photos |
| During the tenancy, on a plan | How the home is wearing; anything that needs attention | Room-by-room notes, photos and video, a list of actions |
| After a significant repair | Whether the work has held | Photos of the repaired area |
| Move-out, against the move-in record | Separating fair wear from damage | The same angles as the move-in photos; final meter readings |
The move-in record needs to be the most thorough of all, because everything is measured against it; move-in inventory and condition records explains what it should contain. At move-out, the comparison decides the deposit settlement, which security deposits and moving out covers from the tenant's side.
Photo and video evidence
A written note records what the inspector thought. A photograph shows what they saw. Take wide shots of every room from the doorway, then close-ups of anything damaged, worn or valuable, and keep the same angles from one inspection to the next so that changes are easy to spot.
Video adds what photos cannot: whether a tap runs clear, whether a fan wobbles, how one room leads into the next. A short walk-through of the whole home is often the quickest way for an owner who lives elsewhere to understand its condition. Keep every file with its date and the report it belongs to.
Turning findings into repairs
An inspection is only as useful as what happens after it. Sort each finding into one of four groups:
- Urgent: anything affecting safety or likely to cause further damage, such as an active leak or exposed wiring.
- The owner's responsibility: wear, ageing fittings and anything that has failed through ordinary use.
- The tenant's responsibility: damage beyond ordinary use, as the agreement defines it.
- Watch items: things that are fine today but worth checking next time.
Repairs then follow the normal route: a quote, the owner's approval where the agreement requires it, a visit arranged with the tenant, the work done and photographed, and the job closed only once it has been checked. With Nest Partners, owners approve repair quotes in the owner portal, and inspection reports appear there as well.
Respecting the tenant's home
During the tenancy, an inspection is a visit to someone else's living space. A few habits keep it respectful:
- give the notice the agreement sets out, and agree a time that suits the tenant;
- explain what the inspection covers and why it is being done;
- inspect with the tenant present wherever possible;
- photograph the home and its fittings, not personal belongings or private papers;
- leave private cupboards and drawers closed unless the tenant agrees there is a reason to open them;
- share what was found, especially anything that will lead to a repair.
Tenants are far more willing to welcome an inspection when it is predictable, polite and followed by repairs. One that only ever produces complaints teaches a tenant to put off the next.
If you live elsewhere
For an owner in another city or abroad, the inspection report is how you see the home. Ask for reports that are dated, organised room by room, supported by photos and video, and finished with a clear list of actions. Managing a rental home from abroad covers what else can be done from a distance, the owner's checklist for renting out a flat shows where inspections sit in the whole tenancy, and property management in Bengaluru explains how a manager runs them. The owners page shows how Nest Partners fits inspections into the rest of its service.
Common questions
How often should a rented home be inspected?
Agree the frequency, and the notice the tenant will receive, in the agreement. Nest Partners plans inspections twice a year; a check after any significant repair is worth arranging as well.
What should an inspection report include?
The date, who attended, room-by-room notes with photos, any video, the meter readings where relevant, and a list of actions with who is responsible for each.
- Owners
- Inspections
- Maintenance
Written and published by
Nest Partners Editorial Team
The editorial team of Nest Partners, a technology-enabled residential property management company headquartered in Bengaluru and working with owners and tenants in Bengaluru, Hyderabad and Mumbai. Rules and rates are checked against the primary sources listed, on the date shown. How Insights is written · About Nest Partners
Own a rental home?
Let a property manager run it with you.
Nest Partners runs the tenancy end to end, from tenant placement and rent to repairs, inspections and the records, with approvals, statements and inspection reports in your owner portal.